+1
2
+1
1
+1
+1
+1
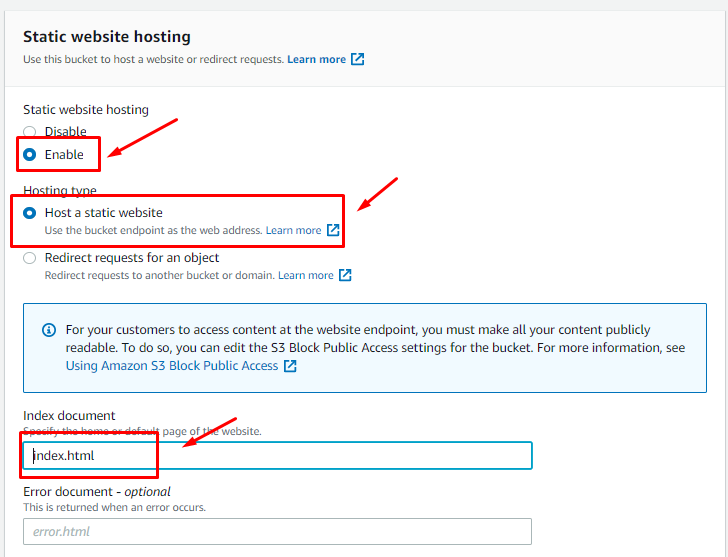
- Login to your AWS account and Navigate to S3.
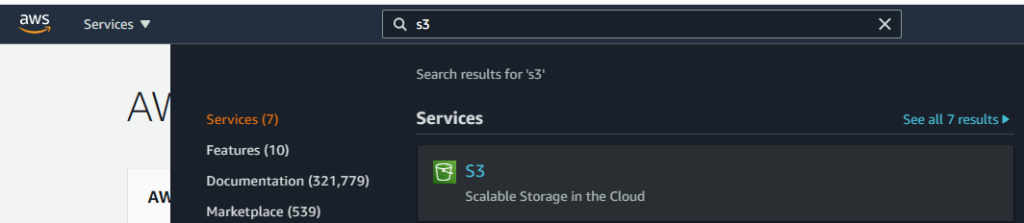
- Select your bucket

we will be selecting this bucket that is already created , in case you do not know how to create one check out this link . Click on your bucket name

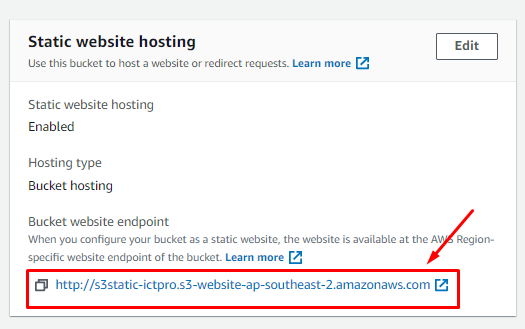
8. Now lets et a bucket policy, Click on to Permissions, and then Bucket Policy the Click edit. Copy this Bucket policy that grants read-write access for the website. Make sure you replace Bucket arn -s3static-ictpro with your Bucket arn
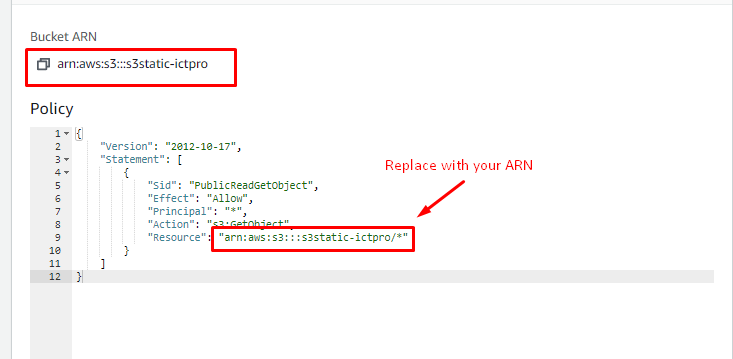
Now Click Save Changes and confirm.