
Building your first e-Learning Platform for free – Day Twenty


100 days of Cloud on GitHub – Read On iCTPro.co.nz – Read on Dev.to
Every content creator is a teacher.
Why e-learning?
E-Learning provides scalability which helps in providing training. All students can receive the same type of syllabus, study materials and train through E-Learning. Through E-Learning, you can save time, money and reduced transportation cost. so, E-Learning is cost-effective compared to traditional learning.
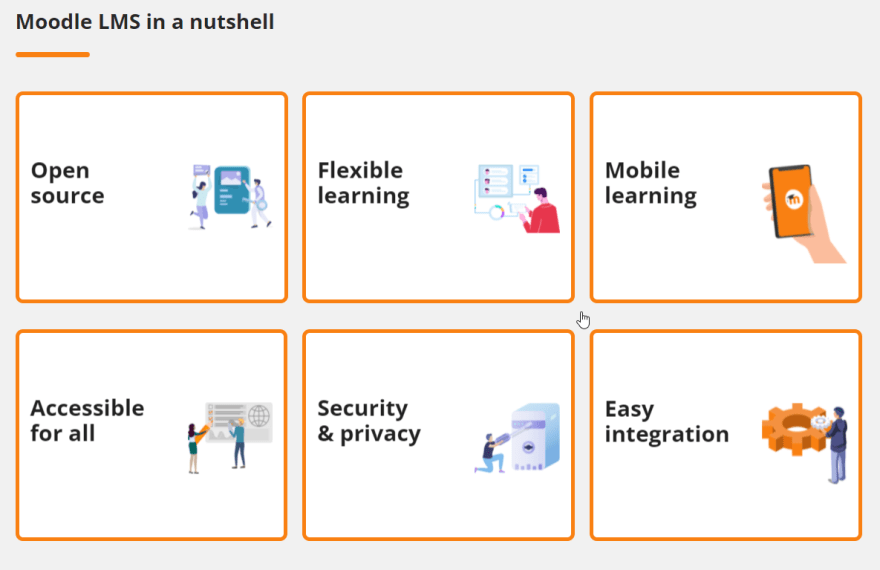
Why Moodle?
The world’s most customisable and trusted open source learning management system.
- It is reliable and secure
- Open Source allows organisations to control their own data
- Flexible and customisable
Lets build your first e-Learning site
Pre-requisite
You can use any public cloud provider or On-Premises to run this code. But as we mention FREE , we will be using AWS Cloud Free Tier option.
- Launch a ubuntu EC2 (t2.micro if you want to use free version)
- Open ports 80(HTTP), 443(HTTPS), 22(SSH)
- A Database [RDS recommended],Get your DB Credentials. , if you don’t know how to create RDS , Follow this Tutorial
- git installed on server
Setup Infrastucture
- Launch EC2 from AWS console
If you are familiar with Terraform here is IAAC for launching this instance
terraform {
  required_providers {
    aws = {
      source = "hashicorp/aws"
      version = "4.5.0"
    }
  }
}

provider "aws" {
 region = "enter-your-desired-region"
}

resource "aws_security_group" "moodlesg" {
  name        = "moodlesg"
  description = "Allow  inbound traffic for Moodle server"


  ingress {
    description      = "HTTPS"
    from_port        = 443
    to_port          = 443
    protocol         = "tcp"
    cidr_blocks      = ["0.0.0.0/0"]
    ipv6_cidr_blocks = ["::/0"]
  }
  ingress {
    description      = "HTTP"
    from_port        = 80
    to_port          = 80
    protocol         = "tcp"
    cidr_blocks      = ["0.0.0.0/0"]
    ipv6_cidr_blocks = ["::/0"]
  }
    ingress {
    description      = "SSH"
    from_port        = 22
    to_port          = 22
    protocol         = "tcp"
    cidr_blocks      = ["0.0.0.0/0"]
    ipv6_cidr_blocks = ["::/0"]
  }
  egress {
    from_port        = 0
    to_port          = 0
    protocol         = "-1"
    cidr_blocks      = ["0.0.0.0/0"]
    ipv6_cidr_blocks = ["::/0"]
  }

  tags = {
    Name = "Moodle-SecurityGroup"
  }
}

resource "aws_instance" "MoodleEc2" {
  depends_on = [
      aws_security_group.moodlesg
      ]
  ami           = "ami-0b7dcd6e6fd797935"
  instance_type = "t2.micro"
  security_groups = [ "moodlesg" ]
  key_name = "your-key-name"
  tags = {
    Name = "Moodle-APP-Server"
  }

}
- SSH into server
- Use putty , here is an awesome tutorial by Mukesh from dev community
Basic Installation
- Get sudo privilages
sudo su -
- Get the code
wget https://raw.githubusercontent.com/anuvindhs/GFS-Moo/main/install.sh
- Change permission to install
chmod u+x install.sh
- Install
./install.sh
- Type 3 and press enter

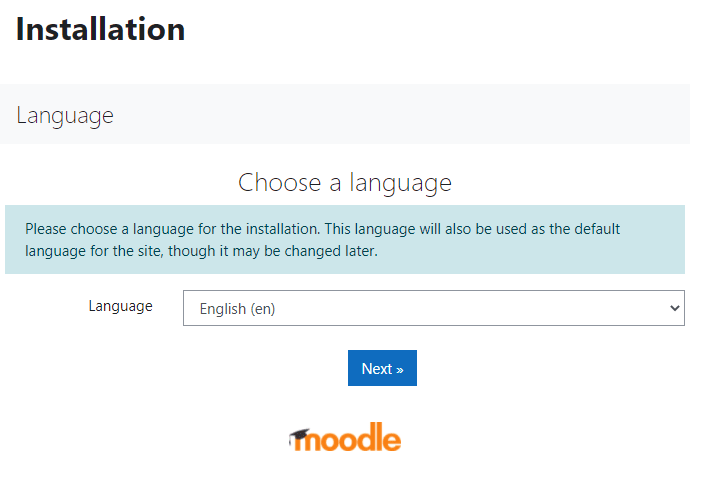
Now sit back and relax, the script will automatically install Apache Server, MYSQL DB, PHP and Moodle 3.11 from git.

Now if you go to the public ip of your server (which will show once the script complete), you will be able to see the Moodle installed on a lamp server.
You can either setup Moodle using the RDS or you can setup a local SQL server as its a LAMP.
🎉Congratulations🎉 on your e-learning platform , build a better future with a smile.
✅Connect with me on Twitter
🤝🏽Connect with me on Linkedin
🧑🏼🤝🧑🏻 Read more post on dev.to or iCTPro.co.nz
💻 Connect with me on GitHub

