- Log in to https://portal.azure.com/
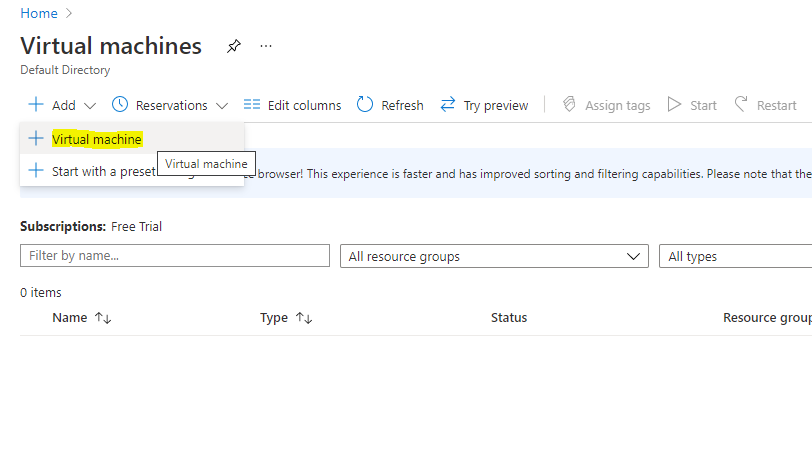
- Click on Virtual Machines

3. Click on ADD>Virtual Machine
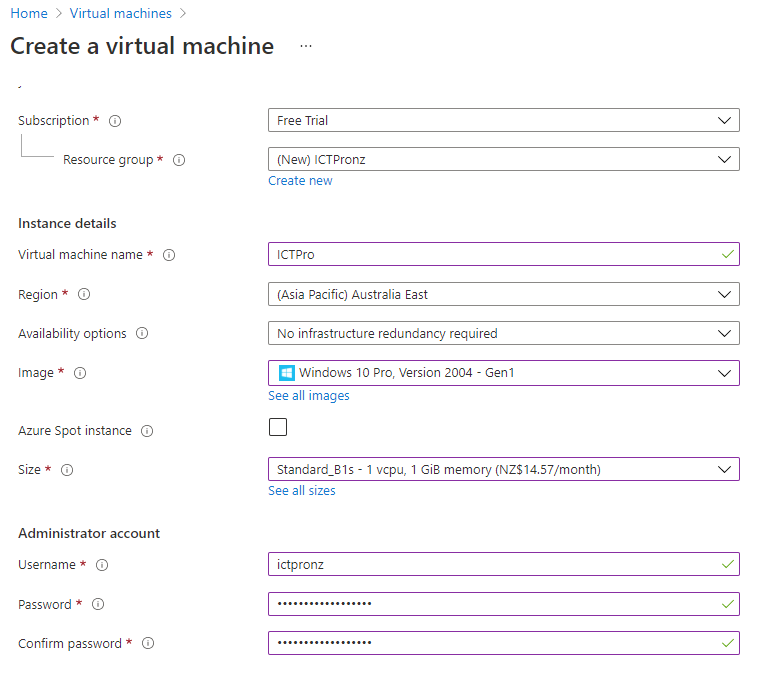
4. Now, I have created a new resource group “ICTPronz” and named the Virtual machine “ICTPro” and the selected region as “Australia East”. I don’t want to deploy it in multiple regions as this is purely for testing so I choose “No Infrastructure redundancy required”. I have selected Win 10 Pro and chosen the NZ$14.57/month pricing option. I have defined the Username and Password.
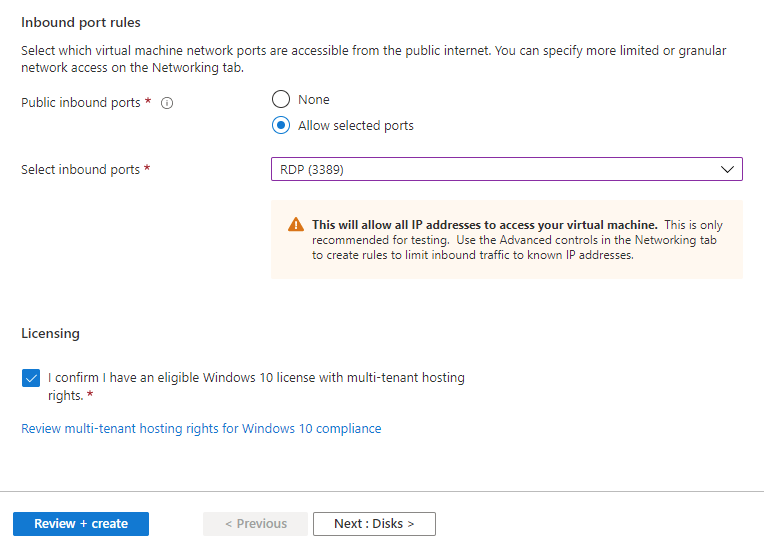
5. Now I setup Inbound port rules and select RDP so that I can RDP to the VM and tick the eligible for multi-tenant hosting checkbox. Please review for more info on multi-tenant hosting by clicking the link provided. Click on Next.
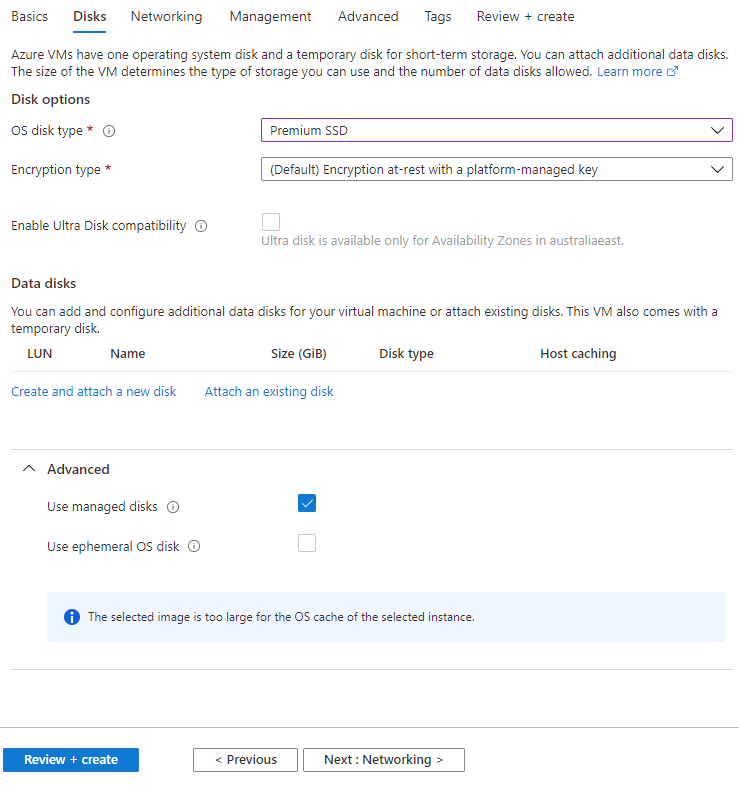
6. I leave the default settings and click Next.
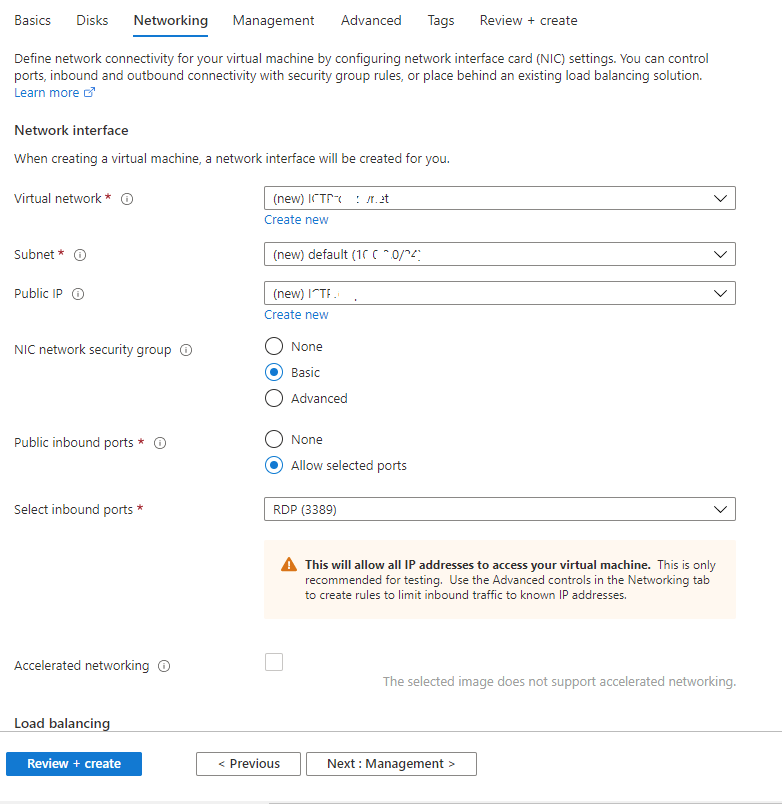
7. I leave the networking settings as default too and click next.
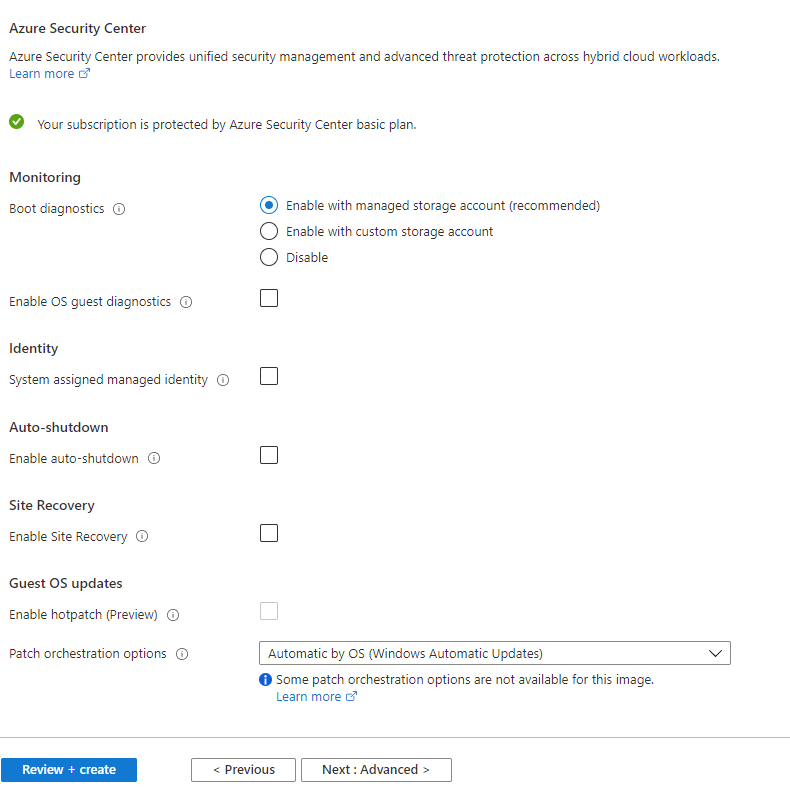
8. You can choose the option of Auto-shutdown under Management settings. I leave it as default as I don’t need it.
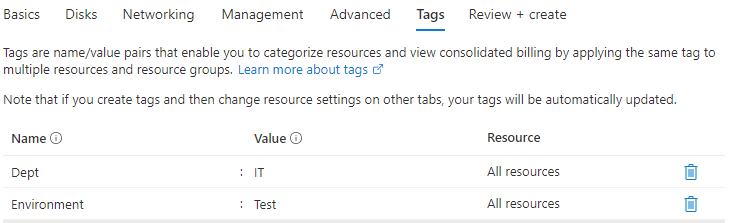
9. I leave the Advanced as default too. Now under Tags, I created a few tags that would help me to categorise the resources and click Next.
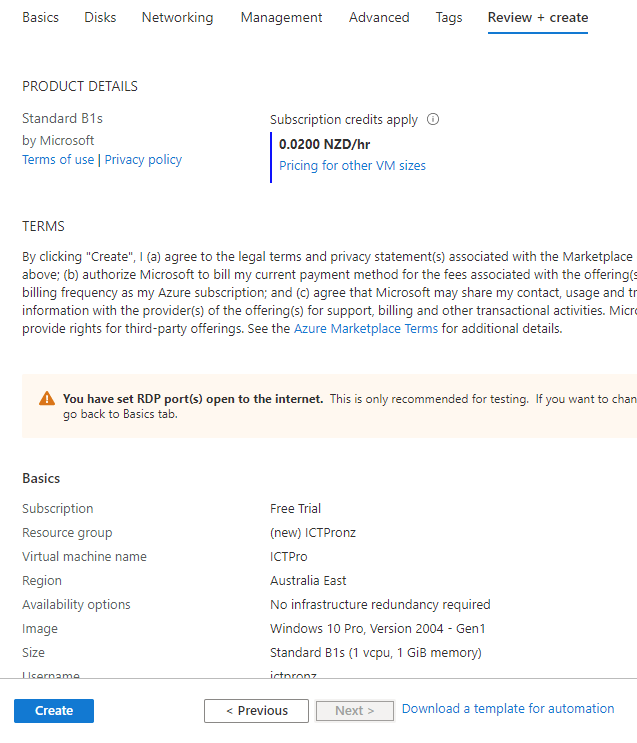
10. Under Review + Create, check all the details and go ahead and click on “Create”.
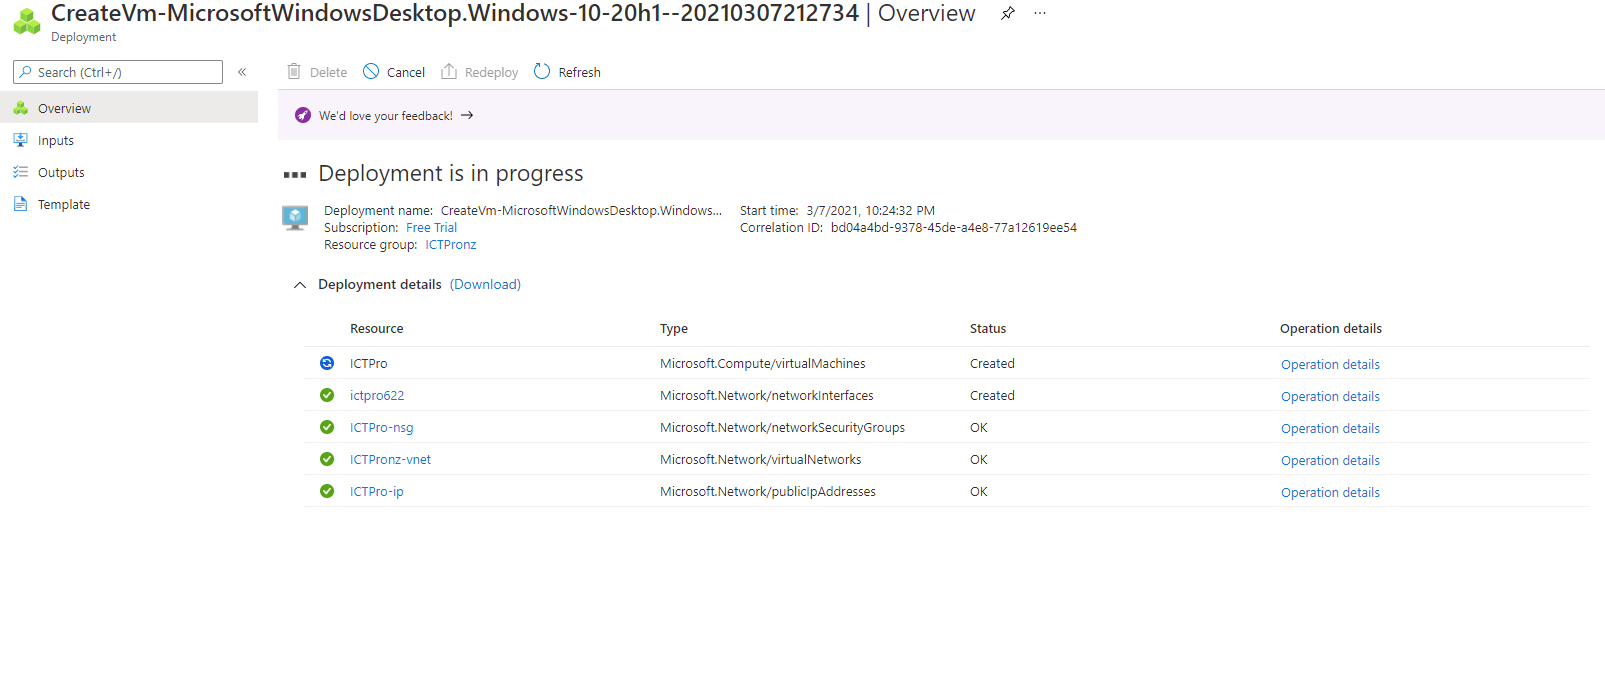
11. It would be ready in a few minutes.
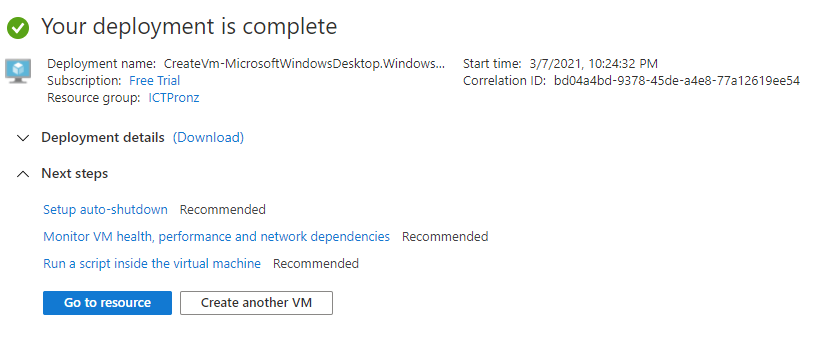
12. Once the deployment is finished, you should see the status as complete. You can click on Go to resource to find the Public IP address.
13. Now you can RDP to the IP address provided and put the same username and password that you set up initially while creating the VM.
Hurray VM is ready now!!

